Miata Mods
Brushed Stainless Steel Dash
Stainless Steel Gauge Surround
On the 25th of January, they announced the winners of the 2018 Moss Motoring Challenge and mailed off the $50 Gift Certificates. As expected, we landed in among the top 50 runners-up at the totally respectable level of tied for 8th. Our Gift Certificate arrived on Monday the 28th, on Tuesday I ordered the goodie you see above and it arrived today. A couple hours later and it was in.
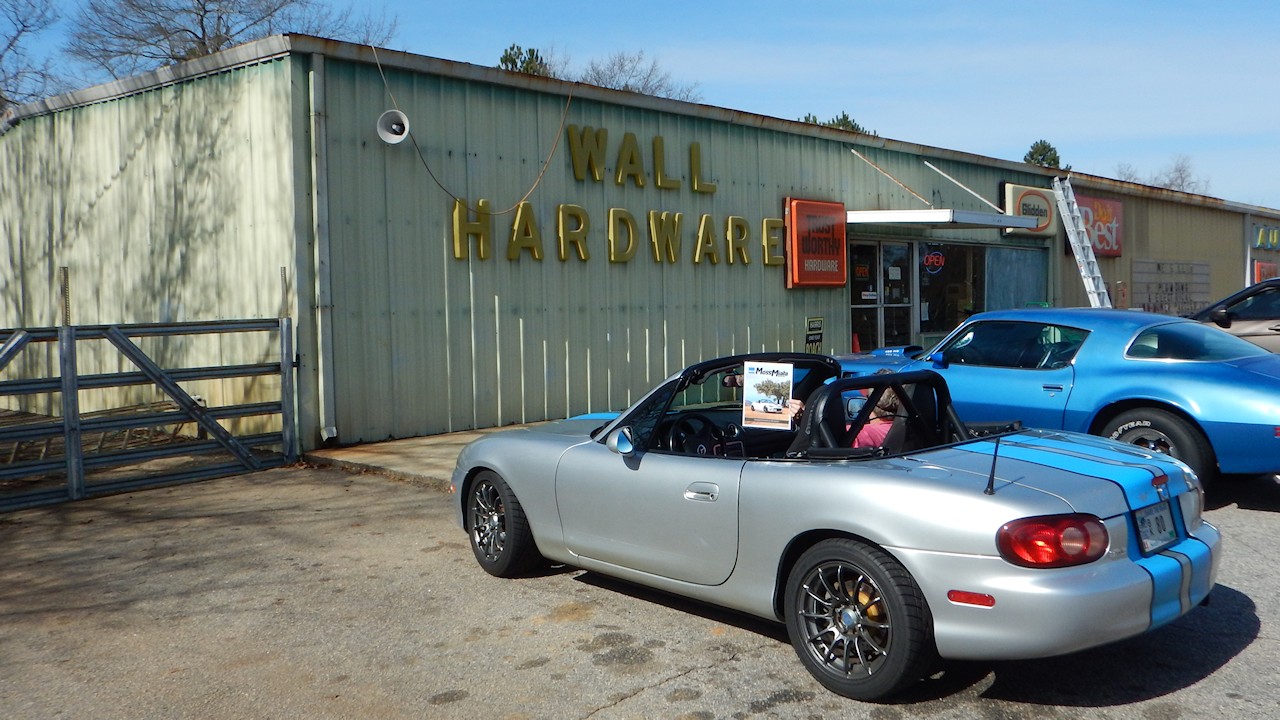
We took advantage of mild weather this afternoon and took a drive to do a little work towards another $50 Gift Certificate next year. We snagged 3 photos to go along with the 2 we already have giving us a total of 15 points out of a possible 298.
-
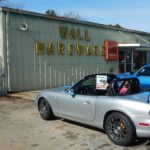
- Hardware Store: Wall Hardware and Automotive, a real live locally owned, non-chain hardware store. (2/1/19)
-
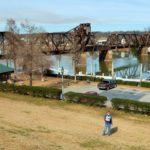
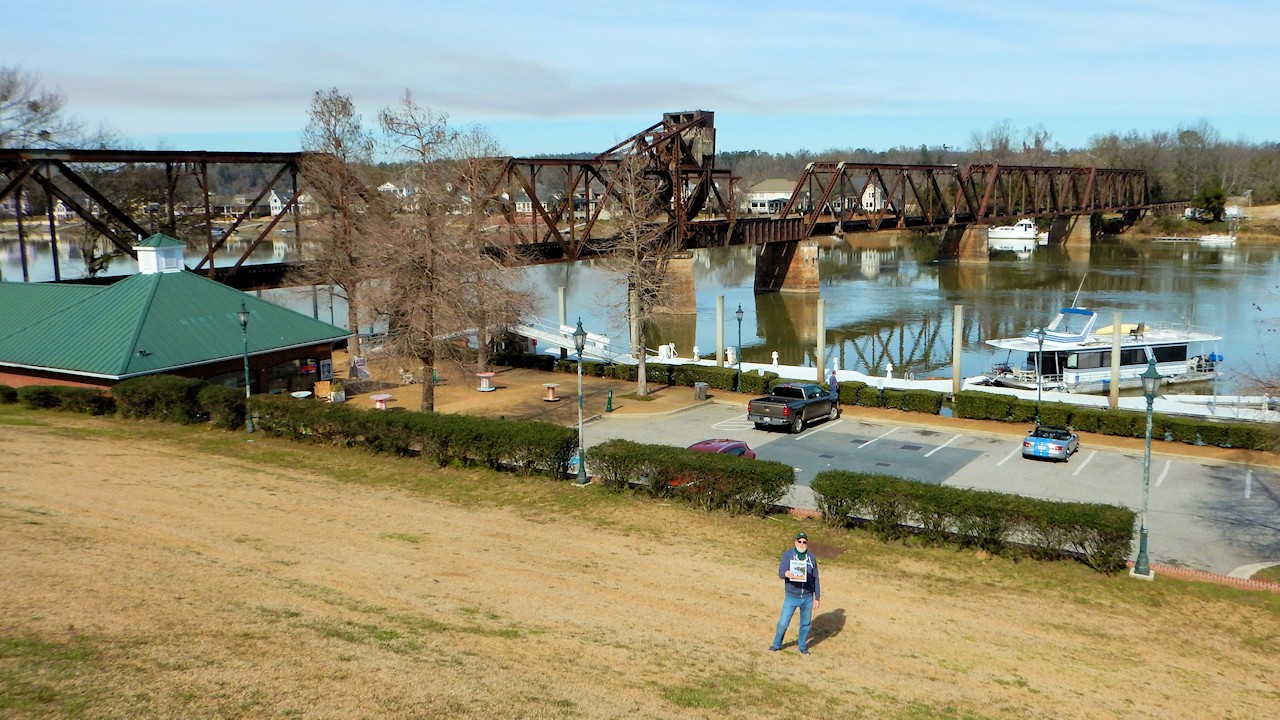
- Railroad Trestle: This very rusty trestle crosses the Savannah River into downtown Augusta, GA and gets used several times a day, much to the chagrin of the locals who have to drive 4 miles to get around the slow moving freight trains. The drawbridge portion hasn’t operated in years though. (2/1/19)
-
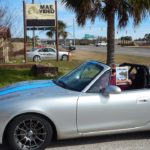
- Video Store: We are lucky on a FEW of counts with this one. First, you can still rent videos here. Second, the MAE is short for Mature Adult Entertainment so you won’t find any Oscar nominated videos inside. And third, it is still in business here in very Bible Belt/Conservative South Carolina. (2/1/19)

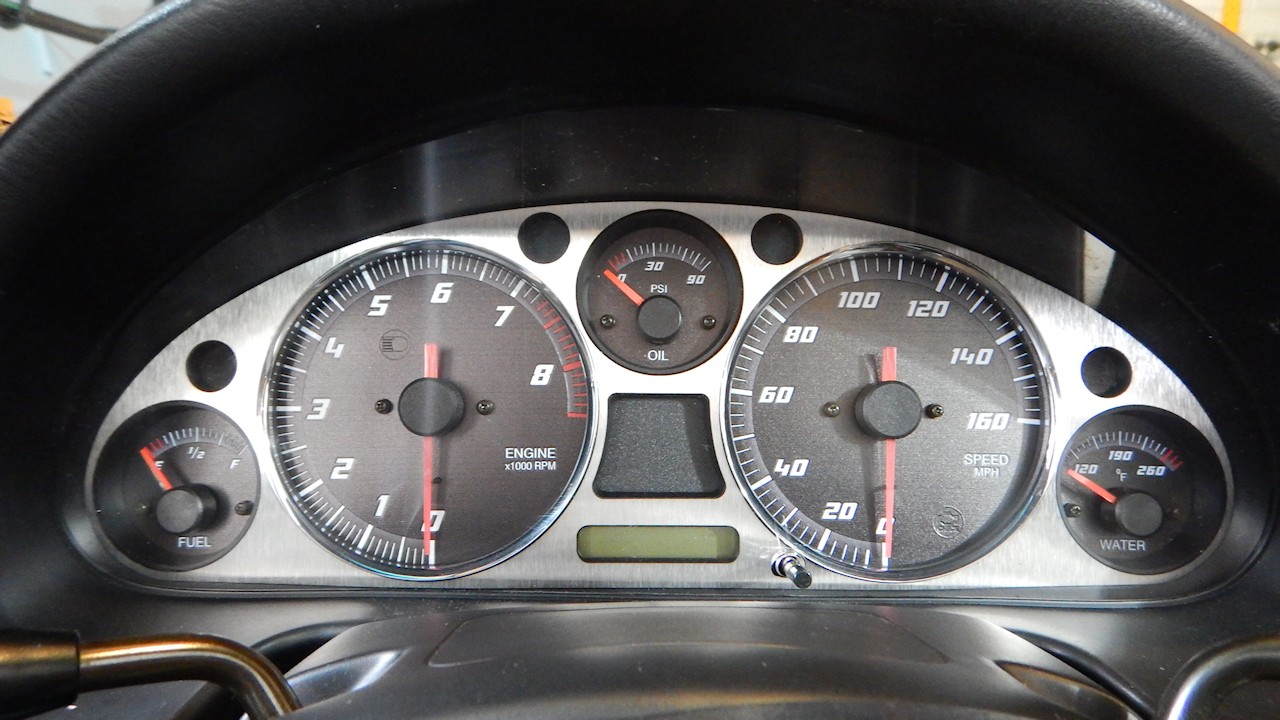
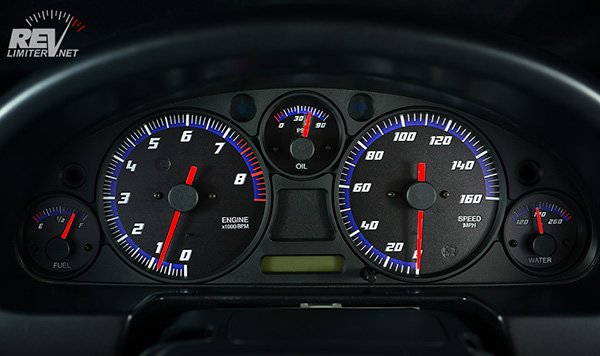
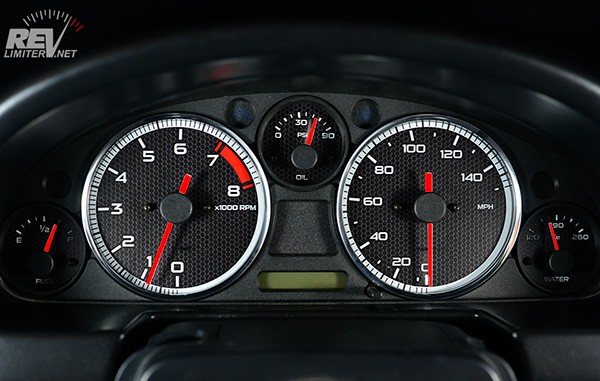
Gauges Installed
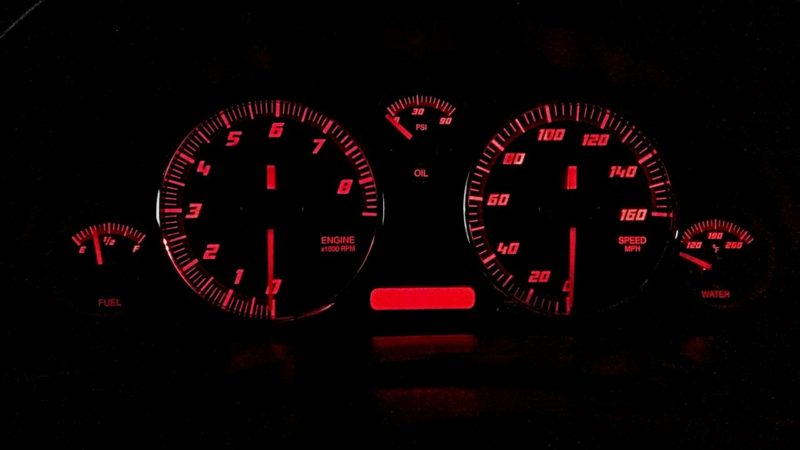
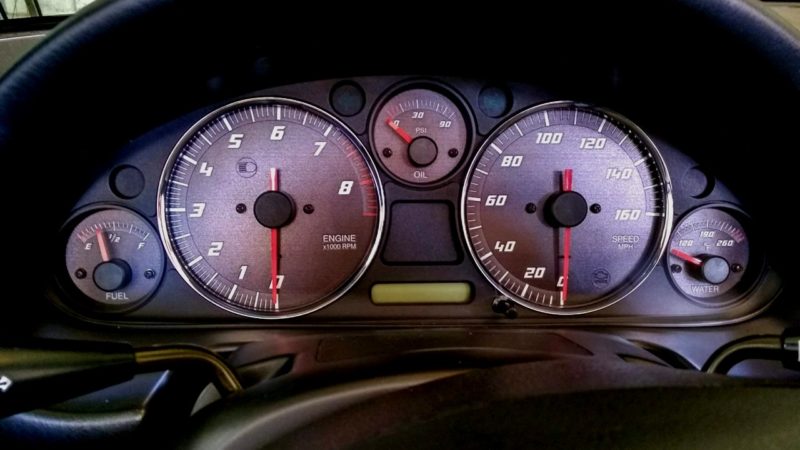
Hover over the picture above to see what they look like at night
Installation went off pretty smoothly, with just one little hiccup, I managed to “break” the needle of the Temp Gauge when I removed it. It was separated into its 3 little component parts, the cap and the needle popped off and the base stayed attached to the pin of the gauge. It was easy enough to put them all back together with some Gorilla Glue.
While I am definitely happy with the results, as befitting anything I do, I do have a couple of quibbles. One of which is not the color of the needles. Because I went with the amber baked in lighting, to keep the gauges matched to the rest of the stock interior lights, the red needles look right at home.
The first quibble is minor one and will probably disappear after a few weeks of looking at them, the faces are a bit shinier looking than shown on the gauge web page.
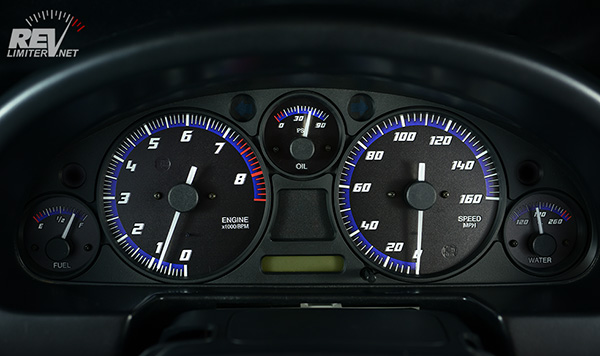
The second is also minor, but one notch higher, call it a grumble. At night there is a noticeable light intensity difference at the very bottom of the speedometer. Although it is hard to notice in my cell phone picture above, the area between zero and twenty is a little darker than everywhere else.
Just from remembering what the inside of the gauge cluster looks like, I’m guessing this darker area is caused by the shadow of the square plastic tube for the check engine light. Unlike my set, on most of the other gauges the CEL is relocated, so that shadow causing tube is nibbled away like the rest of the ones on the bottom of both the tach & speedo.
I’m going to drop Adam an email and see what my best option would be. Should I nibble just a little of the top of the tube off hoping that will increase the light without actually lighting the CEL all the time or do I paypal him five bucks and have him send me little gauge section for relocating the check engine light to the place where all the other gauges has it.
Made Up My Mind Mostly
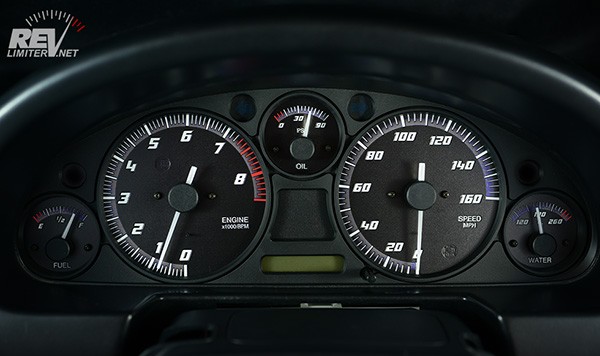
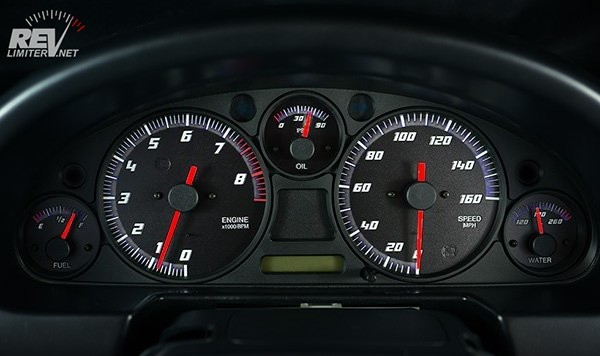
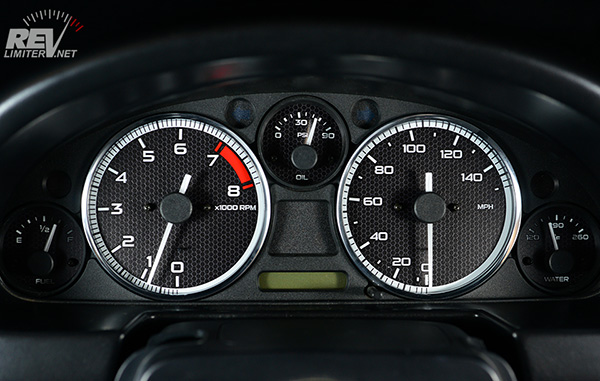
I opted for a mildly modified Version 10AE. The blue was a little too bright for my taste, so I had Adam change it to the gray on the Delta gauges. Now comes the needle color quandary, the photo above shows what it will look like if I leave them alone, hover over it and see what it would look like if I do some extra work.
For those of you who would like your own eye candy gauges for your Miata, now is the time, every Thanksgiving week Adam runs a big sale called Sharksgiving Sale (named for his car Sharka.) All stock gauges (no custom work) are down to $99 instead of the regular $129. Other stuff is on sale too, so forget that cheap Black Friday TV, get your RevLimiter on.
Bad news for me was that my gauges weren’t sale eligible, but the good news is that I got my order in before the sale, because before the sale it was a 2 week wait for orders, now it is 5 to 8 weeks…
RevLimter Gage Face Paralysis
I’ve got a RevLimiter problem.
When I bought the CTBNL a couple of years ago, it came with some of Adam’s stuff. The previous owner (Hi David) had one of his GarageStar oil caps with the Prototipo2 logo already on the car and he also gave me 3 of the small Prototipo2 badges that he hadn’t used. For a while I considered using them as fender badges, ALA BMW, but never did. One of them would made a perfect replacement for the Mazda logo on the trunk lid, but I never did that until just recently, when my Fairy Godfather gifted me with the larger matching front badge.
When it came to brightening up the wheels a little I bought some Wheel Center Cap Inserts from the RevLimiter Store in the same Prototipo2 style.
But this RevLimiter problem is not new. I’ve wanted a set of his gauge faces for at least the last decade, but never could talk myself into spending the $150 entry fee. That problem has been recently solved because I sold my retirement watch for almost the exact amount needed to buy a set of RevLimiter gauges.
The money was not the only problem though, which style to pick is arguably the harder one to solve. For the NB (99-05) car I have, there are 32 different styles to choose from. It is even worse for the NA (90-97), as there are 41 stock styles available. To make matters worse he does custom work too, everything from minor color changes to complete custom for a price. I think I have narrowed my choices down to three styles, the 10AE, the Delta and the Apollo.
I like the 10AE because it has some blue in it to bring inside the stripe color, but the best thing is, it doesn’t require moving the high beam light from it’s stock location. In almost all the other custom gauge faces the high beam indicator light is moved to the location of the current cruise control light and for me, that light is mostly blocked by the steering wheel, and not too noticeable.
The Delta does move the the high beam light, but the color scheme is better suited to the black and silver interior of the car. I think I would have him do a bit of custom work and remove the inside arc of KPH numbers on the speedometer.
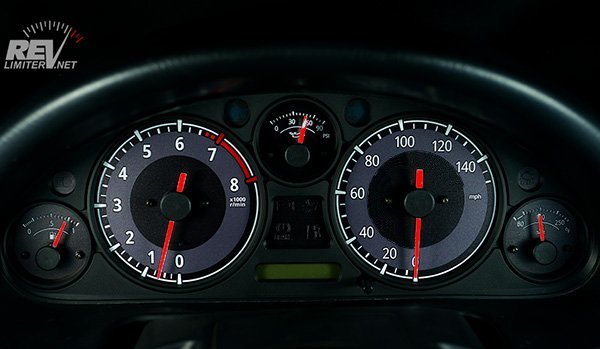
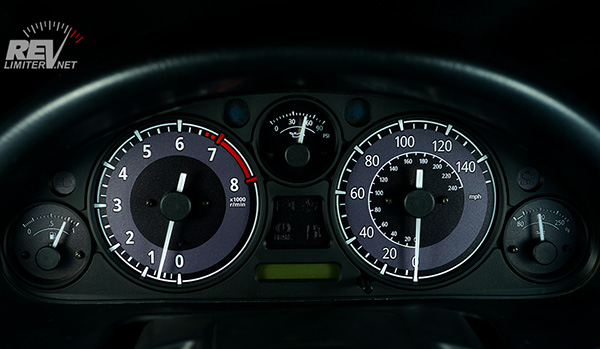
The thing with these two gauge styles is I think they both look best with the white needles as shown on his website because of their predominately black faces. White needles where stock only on the 1999-2000 models, while the 2001-2005 (mine is a 2002) has red needles. Hover over the above images for a second to see what they look like with red needles.
When I changed out the gauge faces in my old ’95 Miata the stock faces were were black with white needles. When I changed to white gauge faces, I scraped the white paint off the needles and painted them red. I guess I could do the same this time, in the opposite direction, but I’d rather not.
Of course if I’m willing to live with the relocated high beam indicator light, I could possibly go with the Apollo, which doesn’t look too bad with the red needles. Once again hover over the images to see a mock up.
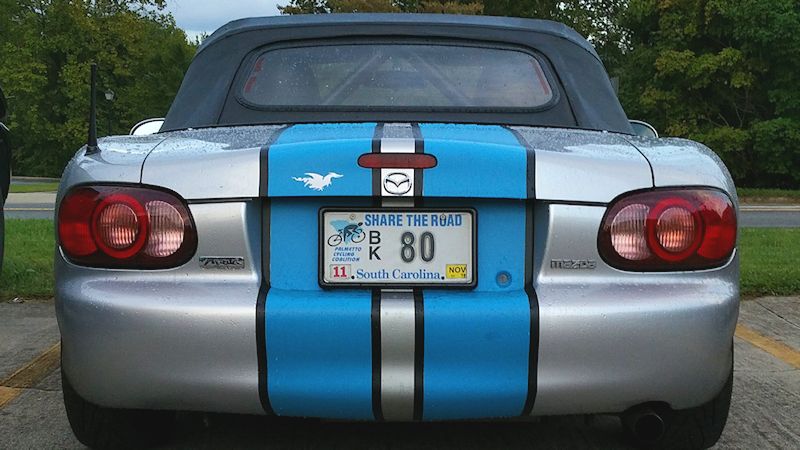
Carolina Panthers Car
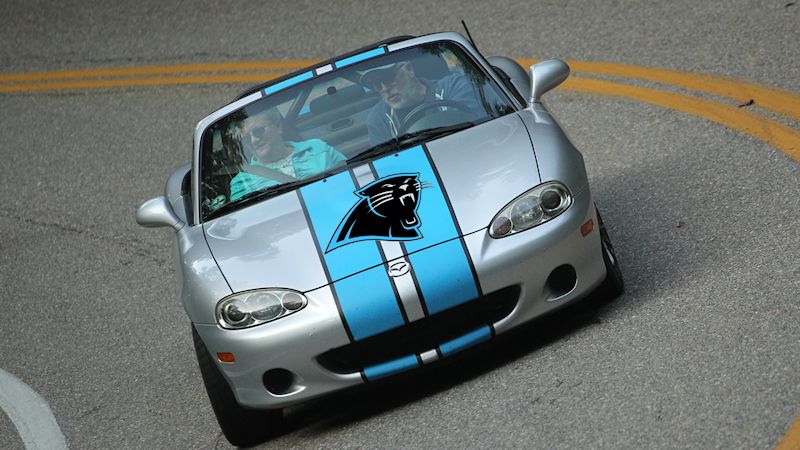
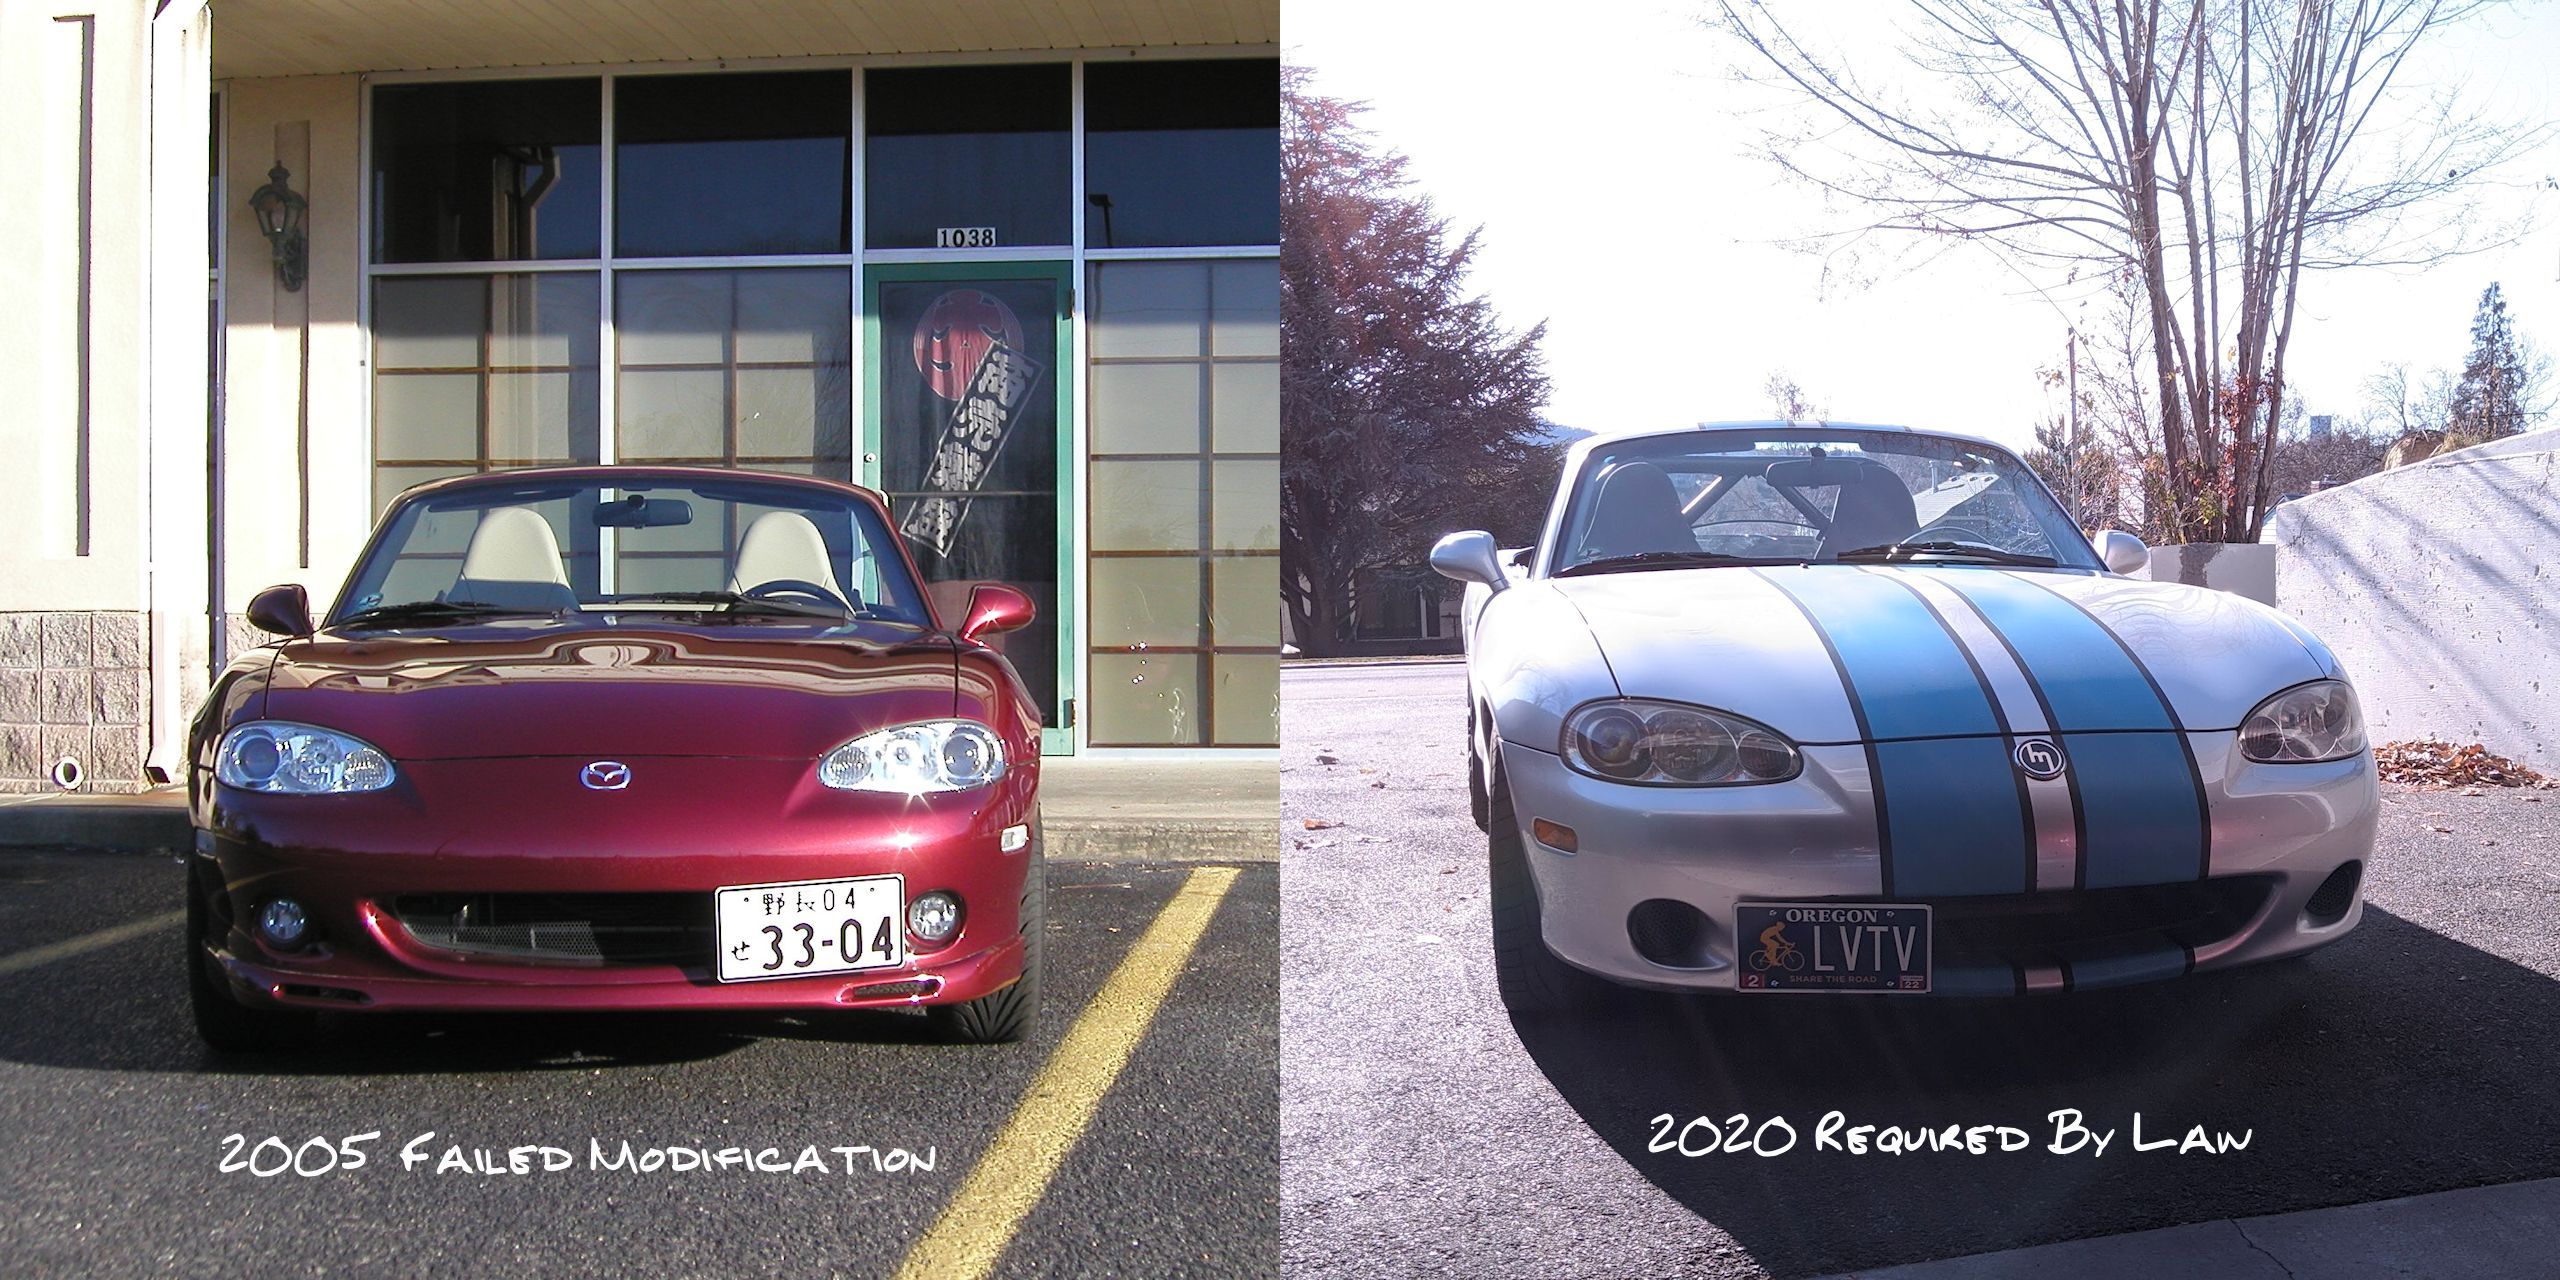
In the ten months since I added the black 1″ stripes outlining the 2 large blue stripes on the silver car, only one person has mentioned the similarity of the color combo to the uniforms and helmets of the NFL’s Carolina Panthers. During last weekend’s trip thru northern South Carolina and southern North Carolina I got that observation 3 times.
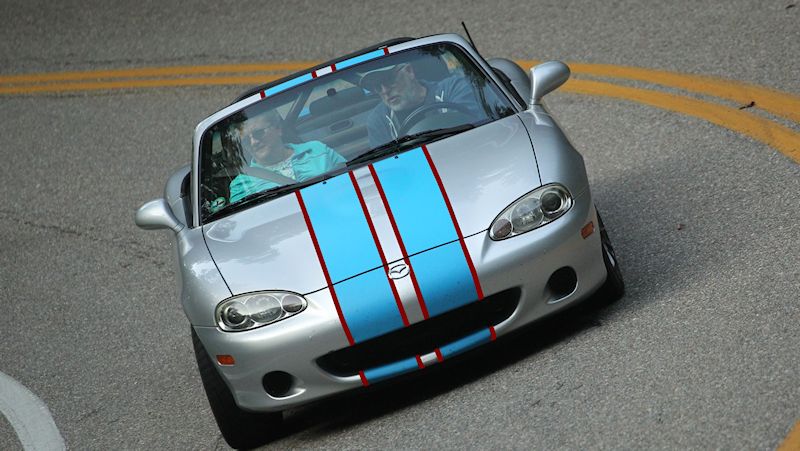
My response to these folks was always, “It was purely coincidental.” But it got me thinking, maybe I need to change something to keep from getting this comment. Swapping the color of the big blue stripes was out of the question, too much money. Removing the stripes all together was also a non-starter, so that left replacing the black narrow stripes with a different color. After mocking up several colors and dismissing most, only two were marginally considered, maroon (a nod to the dearly departed Emperor) and a dark blue. I like the dark blue best and think if done in a reflective tape it would even look quite interesting at night.

Of course there is one other more extreme option, we could move all the way across country where probably no one would make the connection…
Been There, Done That…
…Got the Dragon Sticker.
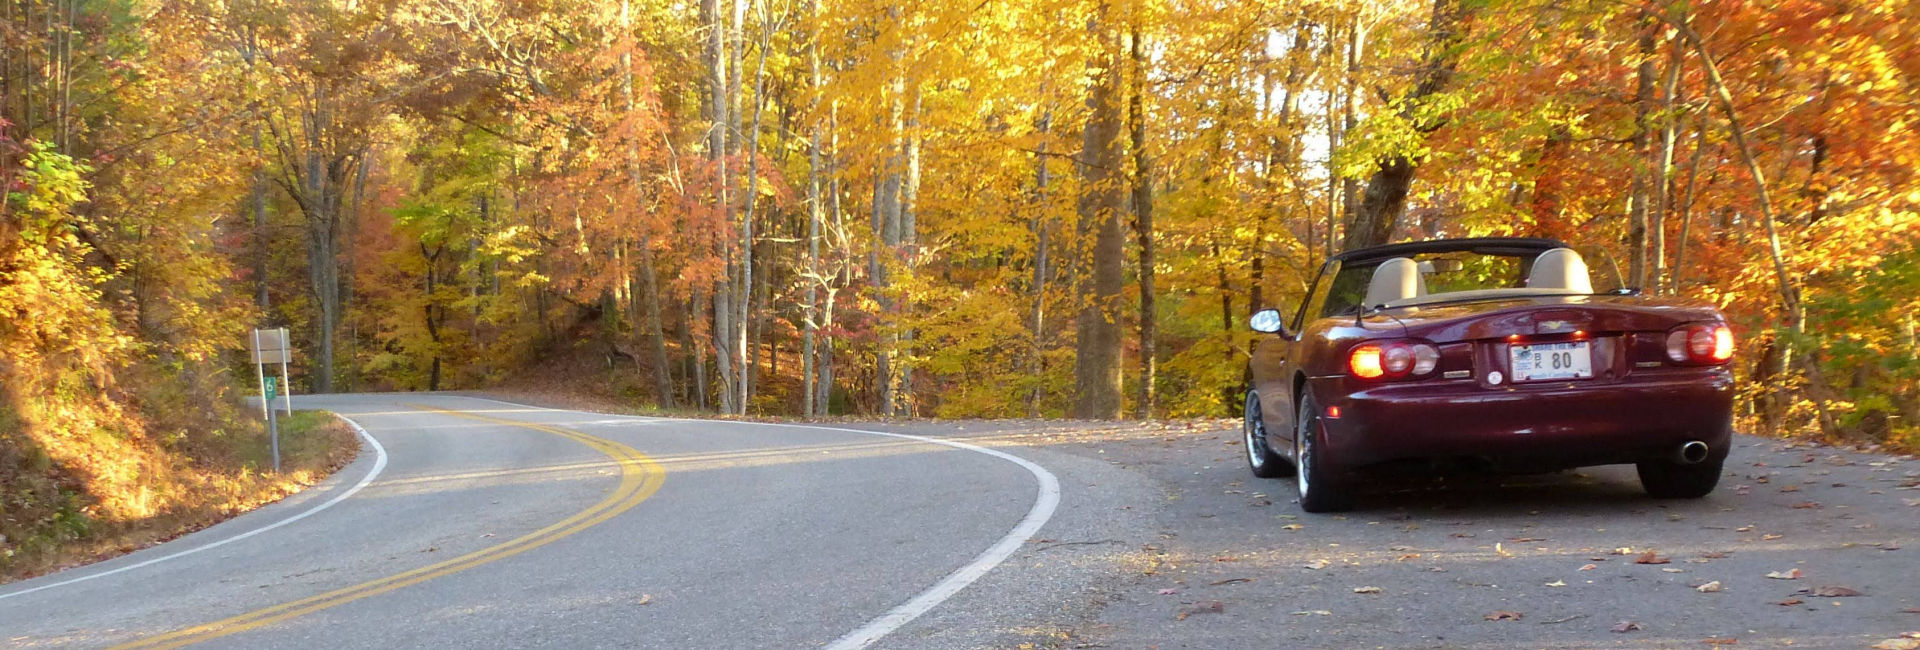
Hard to believe that it has taken over two years to get the CTBNL onto the Tail of the Dragon’s 318 turns in 11 miles, but it finally happened this morning. We applied our usual trick of an early start to get two full clean passes, both northbound and southbound, from the top of the Deals Gap Motorcycle Resort.