
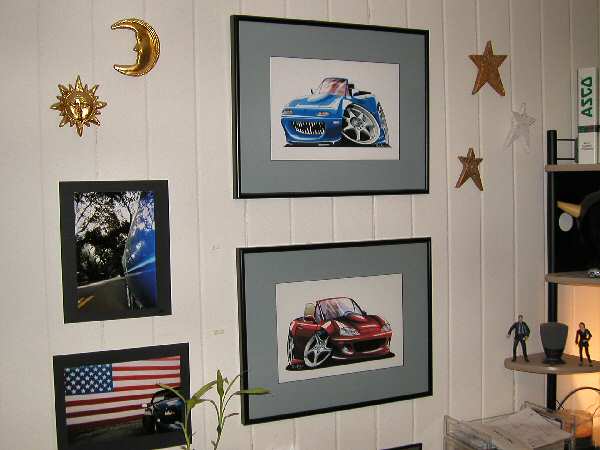
Another Caricature?
I have caricatures of the last two Miatas framed and hung on the wall in the computer room. They were done by a fellow over in Scotland, Dave Scott, who had a business called Carartz that would do personalized drawings of your car. When we were contemplated buying a 4th generation Miata I thought maybe I’d get him to do one of that car too. I couldn’t find him. The website carartz.com is for sale and searching for “Dave Scott artist Scotland” turns up a bunch of David Scott’s, but none in the caricature business.
Didn’t matter, we didn’t get a 4th gen Miata, we got another 2nd gen, so that caricature still stands for it. Today in my Miata Google Alert email along with the usual Redit posts and Craigslist ads were a few things from a site called RedBubble that wanted to sell me T-shirts or stickers or drawings. Curiosity got the better of me and I clicked on the drawings link and found a fellow called car2oons that does personalized caricatures of cars. Right there in his header image is not only a nice line art drawing of a 1st gen Miata, but a caricature of one as well. I looked through his portfolio and saw a line drawing of a 2nd gen car, but no caricature, so I contacted him. He replied within an hour saying he’d be happy to whip up a customized one for the CTBNL and asked for a photo.
A 12″ x 16″ is only a little more than $18 and if I watch the Hobby Lobby ads for 1/2price picture frames I can get it on the wall for around fifty bucks total. Maybe I can go ahead and complete the whole set of Miatas owned. Our first one never got modified in any appreciable way and I bet he’d be willing to lose the Euro style front plate of the one he already sells too.
Parked On 49,000 Pieces of Pine Straw
Alternate Post Title: Reunited
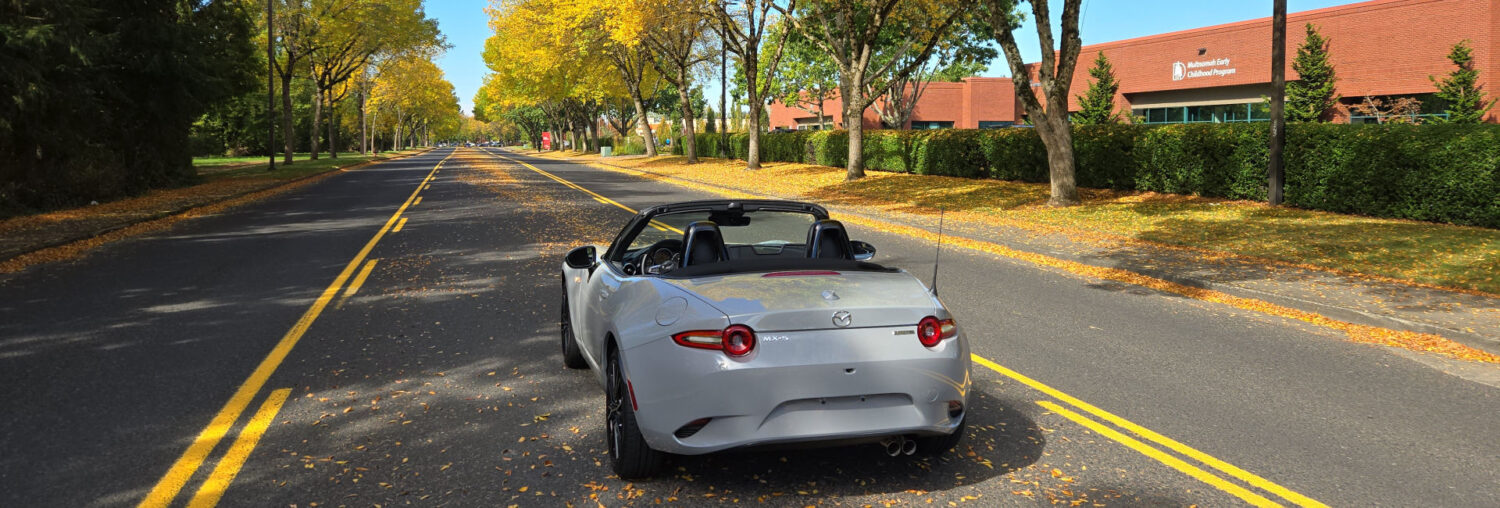
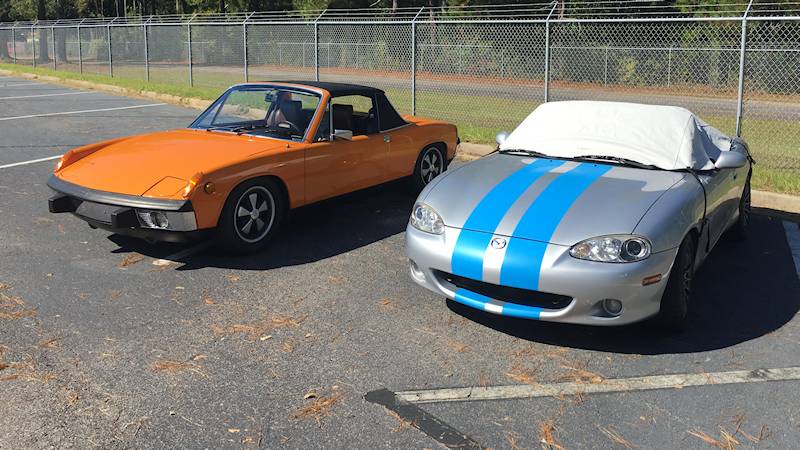
The previous owner of the CTBNL passes right by the Valve Store on most days when he goes into Aiken proper and if he times his look over just so, he can see his old Miata siting there in the back corner of the parking lot. Well, sometime in the recent days he just couldn’t help himself anymore, he pulled in and parked next to me to snap the above photo of his 1973 Orange 914 and its former stablemate.
On the way home from the Valve Store today the CTBNL passed the 49,000 mile mark. In the last two months I have put almost as many miles on the car as David did in the year and a half or so of ownership. Then again I don’t have a fleet of Porsche 914s and a Porsche Boxster (not to mention a Jeep Wrangler and maybe more) to choose from when I leave the house.
Community College Engineering
Almost hard to tell that it is there in the photos, but my clear lexan wind blocker project is complete. Well, sort of. After it was installed my navigator said, “Do you think maybe we could find some black screws?”
Materials required to make one wind blocker are 5′ of black plastic door edge guard ($2.71), two 1-7/8″ plastic coated loop clamps ($1.55), one 18″ x 24″ x 1/8″ thick lexan sheet ($10.56) and a couple of 5/16-18 bolts and nuts (0¢) for a total cost of $14.82.
But it cost more to make this one. I had to buy 18′ of the black plastic door edge guard ($9.74). I had to buy ten of the 1-7/8″ plastic coated loop clamps ($7.74), smaller or even larger ones were available separately, but not the 1-7/8″ size. I needed to buy two of 18″ x 24″ x 1/8″ thick lexan sheets ($21.12) because I cracked the first one when drilling the holes. The pair of the 5/16-18 bolts and nuts were still free (0¢). So the project really cost me $38.60, but it was well worth it because nobody makes a wind blocker for this particular roll bar.
Yawn
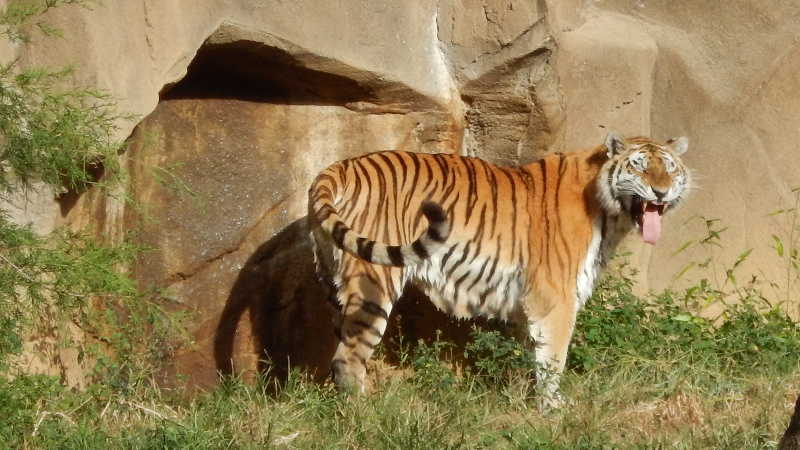
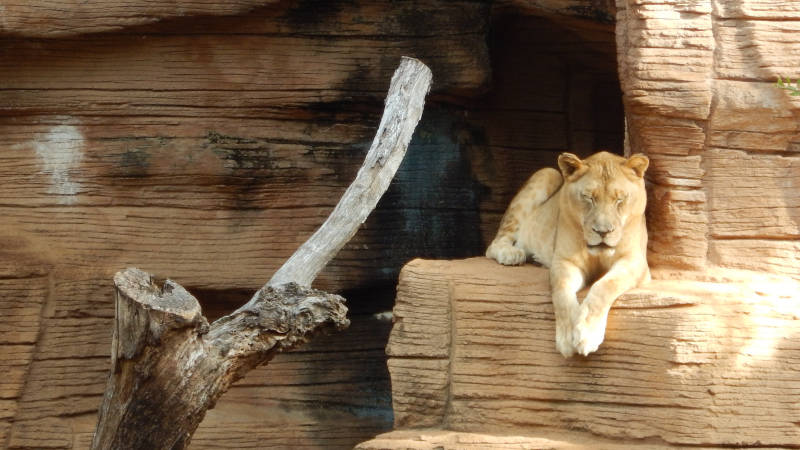
Can you tell we’ve been to the Riverbanks Zoo in Columbia recently? Yesterday was the Valve Store’s Family Fun Day and instead of the usual picnic on the front lawn and handing out tickets to the Eastern Carolina Fair, the company gave everyone and their extended family tickets to the zoo and served us lunch there. Donna and I got there just as the gates opened and caught some of the animals before they had a chance to put on their game faces.
Redneck Engineering
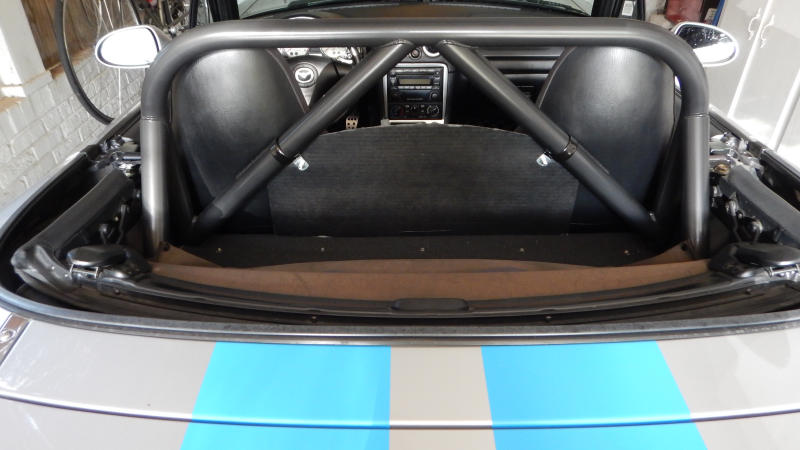
One of the things we are missing out on, because of the roll bar is the OEM wind blocker. There wasn’t anything like it in the first two Miatas we owned and we scoffed at it at first in the Emperor, but came to realize it had a great benefit in the cooler weather. With the windows up, wind blocker up and the heat on, we could handle top down cruising in the upper 30’s to lower 40’s for short trips.
No one makes a wind blocker specifically for the bar we have, so I thought maybe I could make one on my own. Using my low tech measuring device (a folding carpenter’s ruler) and my high tech drawing program (AutoCAD) I drew up an idea of a shape. Before cutting out my design from some fairly expensive Lexan, I make one out of extremely cheap cardboard.
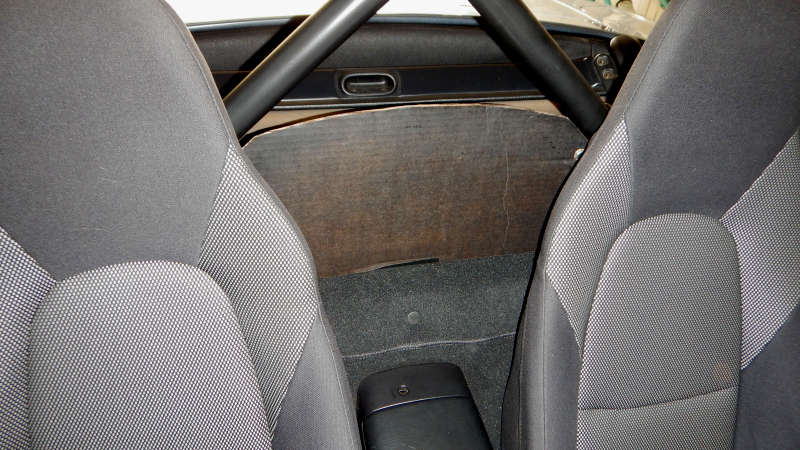
To mount my wind blocker I thought a nice way would be to use loop clamps around the roll bar. At first I thought two per side, but realized that was overkill for its small size. But how do I secure the bottom? Velcro is how. I have maligned what Mazda calls carpet in these cars several ways, several times here, but one thing this stuff is excellent at is acting as the fuzzy side of Velcro. It has helped me secure everything from small liter bags to USB drives with MP3s to floor mats. This time a small strip along the bottom of my mock up wind blocker creates a needed third mount point.
Last night, after I had some clamps in hand I decided it was time to see just how well this thing would work. I didn’t want to drive around with a piece of a cardboard box affixed to the roll bar, so I grabbed the spray can of black plast-dip and coated both sides of the cardboard with it. Donna asked incredulously, “You actually think painting the cardboard will make it less…ahh.” “Rednecky?”, I finish for her. “Yeah,” she sez. “Well not on close inspection, but it make me feel better,” I tell her.
This morning’s cool drive to work proved out the shape, it did seriously cut back the cold blow back air on my neck and her slightly lower head. It also showed a flaw in the upper loop clamps. The clamps are vinyl coated and where they were located they hit the seat backs and generated a squeak any time we hit a bump. I’m not sure I can move the loops far enough up to not squeak and have them still in a position to reach the wind blocker. Plan B is some sort of Velcro strap as long as I make sure the fuzzy side is the part that hits the seat.