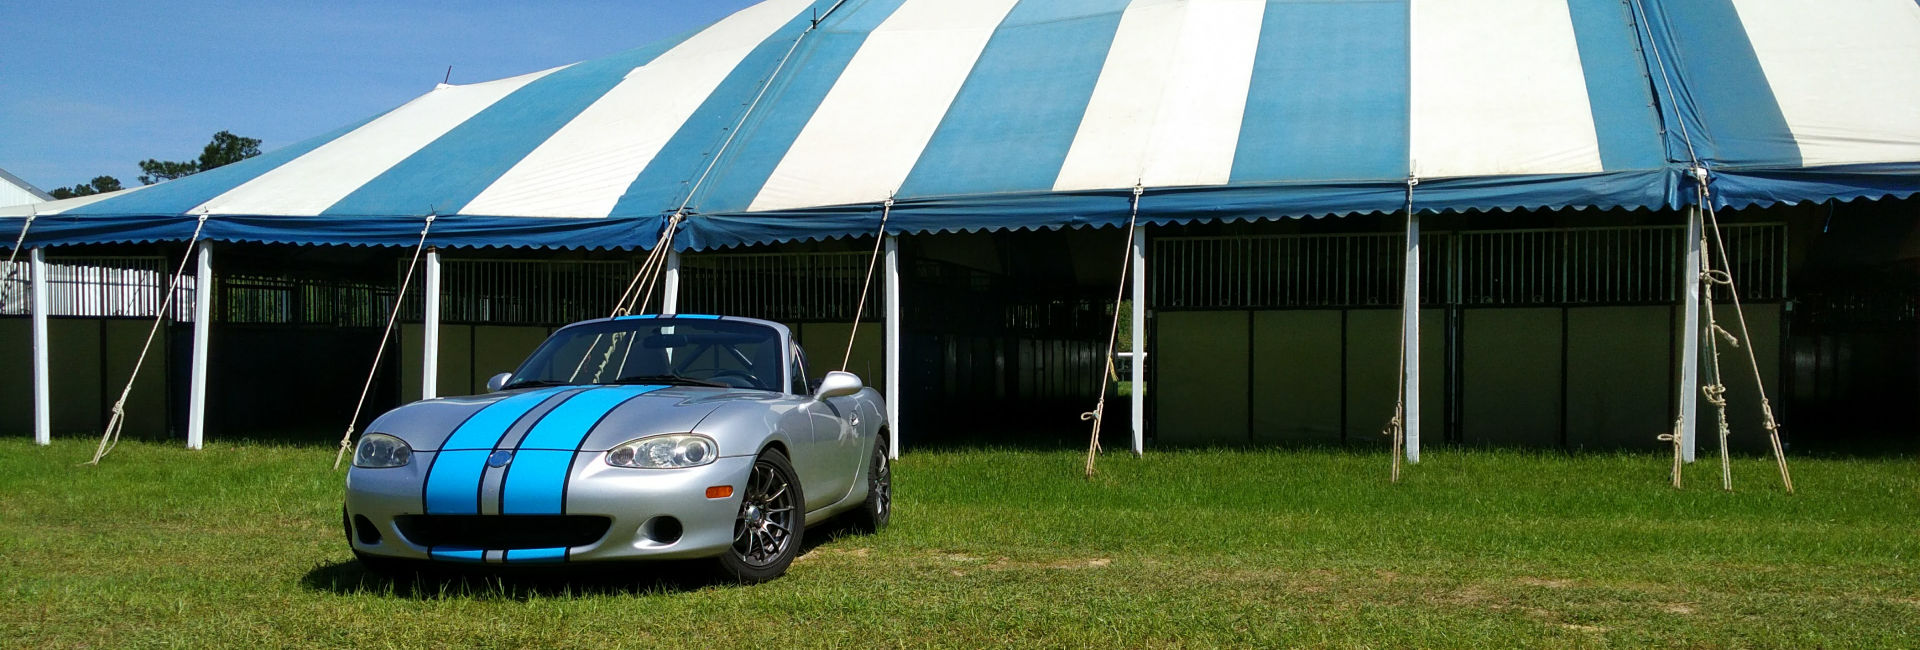
The CTBNL only had forty some-odd thousand miles on it when we got it, so the interior was still fairly new looking. In the thirty some-odd thousand miles we have put on it since, it still looks pretty good, but the cloth driver’s seat had started to fray in three spots over the summer. We figure the velcro closures on the pockets of my cargo shorts were most likely the culprit.
We hemmed and hawed about the possibility of buying leather replacement seat covers, but in the end decided to replace the covers with the OEM cloth. While we have been happy with leather seating in the previous two Miatas, I really like the not too hot or not too cold aspect of the cloth. And as a bonus you don’t slide around on them in spirited driving. The cost of buying new Mazda cloth covers is only marginally cheaper than aftermarket leather, $660 vs. $800, but for now, seeing as the passenger seat is fine and we are not replacing it, we are in for just $330.
The internet “experts” said changing the covers was easy as pie, but because I am not the most skillful person when it comes to do-it-yourself type projects I wasn’t so sure. I read all I could on the Miata forum, watched some youtube vids and figured taking my time, in a couple days I could do it.
Turns out it took me a just little over 4 hours to finish the job. And at least 30 minutes of that was returning inside to do further research in disassembly of the seat. All the videos I watched were of the 1st generation Miata seats and the NB versions, being that there have been ten years of advancement in seat technology since then, were different in several ways.
That $330 spent is really more like $395 because I spent $20 on some Hog Ring Pliers plus 150 rings. Another $20 was spent on a pair of dedicated hog ring cutters seeing as my 40-year old diagonal cutters are literally not the sharpest tool in the box. I also spent twenty-five dollars at the local auto upholstery shop to have them sew a small half moon of fabric on the top back of the seat cover. This will hopefully replace the squeak preventative cloth and look cleaner than what I have wrapped around the roll bar now.
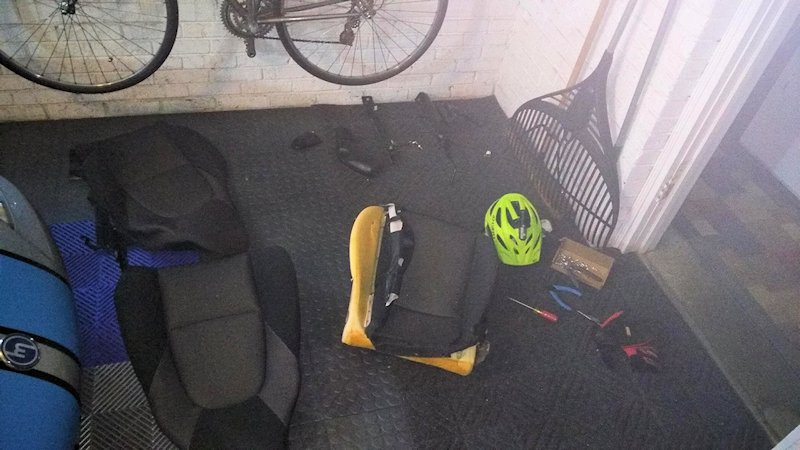
In the above photo I have finished replacing the seat back and was mid way through putting the new cover on the bottom. The bicycle helmet with an LED headlight on it is there because I was working on the floor of the garage and the door opener lights and my hanging drop light never seemed to be enough or coming from the right direction.
