70,000 Fallen Leaves
Just outside Wagener, SC the CTBNL past the 70,000 mile mark.

Just outside Wagener, SC the CTBNL past the 70,000 mile mark.
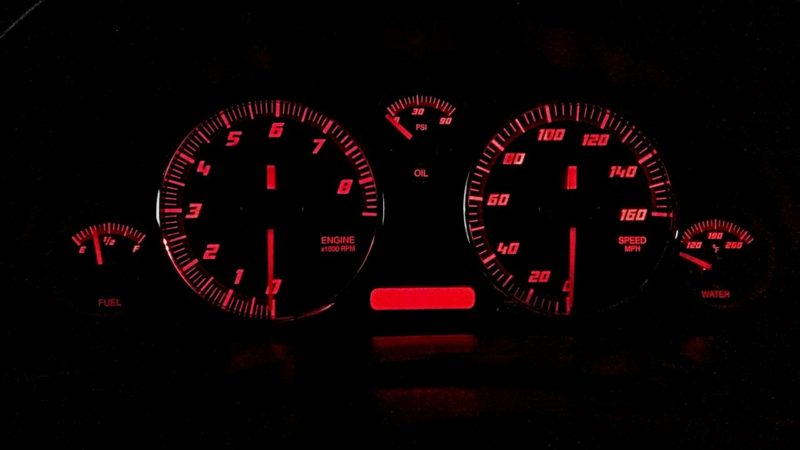
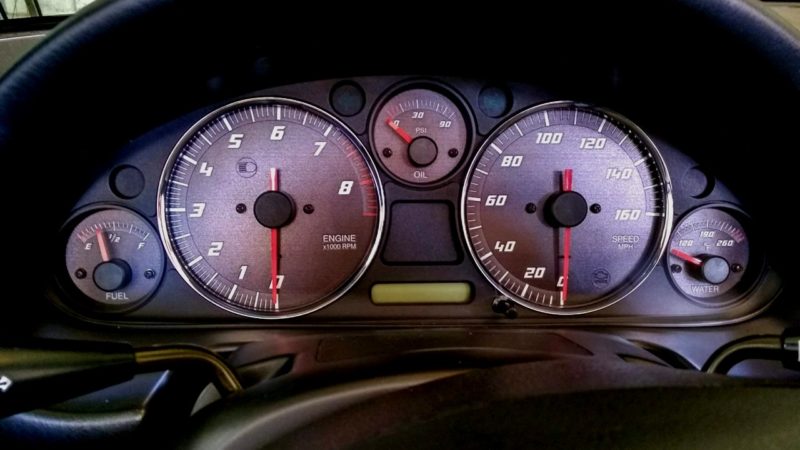
Installation went off pretty smoothly, with just one little hiccup, I managed to “break” the needle of the Temp Gauge when I removed it. It was separated into its 3 little component parts, the cap and the needle popped off and the base stayed attached to the pin of the gauge. It was easy enough to put them all back together with some Gorilla Glue.
While I am definitely happy with the results, as befitting anything I do, I do have a couple of quibbles. One of which is not the color of the needles. Because I went with the amber baked in lighting, to keep the gauges matched to the rest of the stock interior lights, the red needles look right at home.
The first quibble is minor one and will probably disappear after a few weeks of looking at them, the faces are a bit shinier looking than shown on the gauge web page.
The second is also minor, but one notch higher, call it a grumble. At night there is a noticeable light intensity difference at the very bottom of the speedometer. Although it is hard to notice in my cell phone picture above, the area between zero and twenty is a little darker than everywhere else.
Just from remembering what the inside of the gauge cluster looks like, I’m guessing this darker area is caused by the shadow of the square plastic tube for the check engine light. Unlike my set, on most of the other gauges the CEL is relocated, so that shadow causing tube is nibbled away like the rest of the ones on the bottom of both the tach & speedo.
I’m going to drop Adam an email and see what my best option would be. Should I nibble just a little of the top of the tube off hoping that will increase the light without actually lighting the CEL all the time or do I paypal him five bucks and have him send me little gauge section for relocating the check engine light to the place where all the other gauges has it.
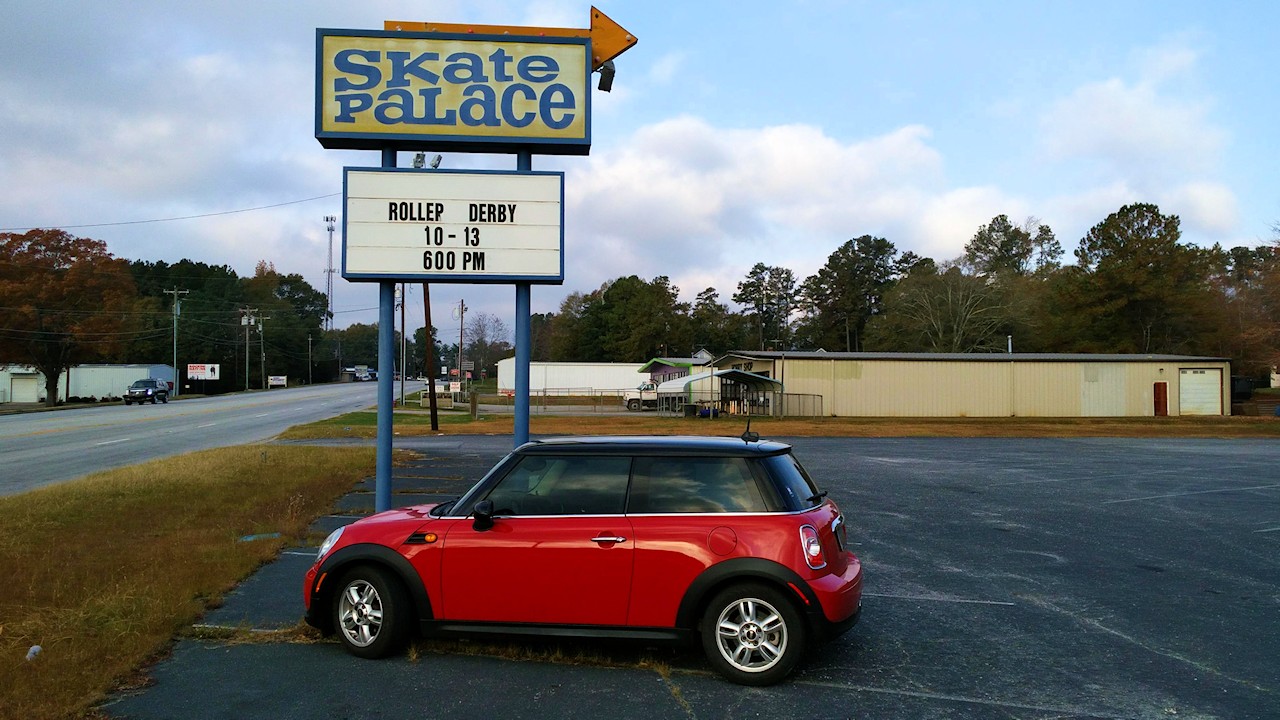
On the way home from Hendersonville, North Carolina on Friday after we had spent Thanksgiving with my sister and her husband, we detoured through Spartanburg, SC to check on a skating rink that hosts roller derby. Sure enough, there was a sign out front of Skate Palace advertising a match from back in October. Unfortunately we were in the Mini not the Miata, so we vowed to drive the 100 miles one-way back there the following day. But Saturday was a cold, miserable, and rainy. Not a nice day for a drive, even with the top up.
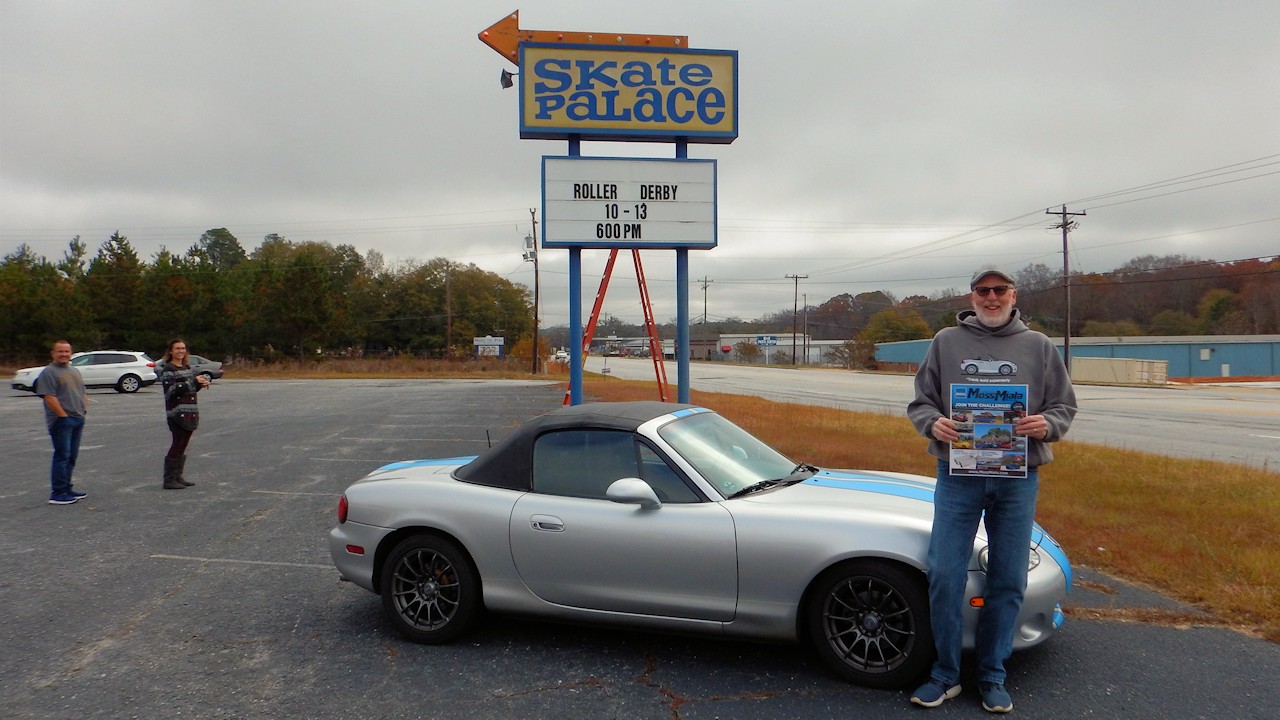
We waited until today to make the trip. When we got there, the two people you see on the left were changing the sign to read Craft Fair Today (see the ladder…) and fortunately for us they had finished only one side. The other side still had the roller derby announcement on it. Pheew!
About 7 years ago, a 3 mile section of old US 301 in South Carolina near the Georgia border was turned into a walking trail. When we found some geocaches on the 1-1/2 stretch from the Savannah River back towards the middle we noticed that there were none on the other mile and a half. So over the next few months we placed 8 of our own on that first section.
Back in 2011 we were geocaching fools, it was our biggest year where found 332 caches, averaging almost one a day, so the distance, about 50 miles one way, to these caches didn’t seem that bad. Over the intervening years our caching has tapered off. This year we have found all of 73 and almost all of those were on our big trip out west in May. Last year we found zero, didn’t even try.
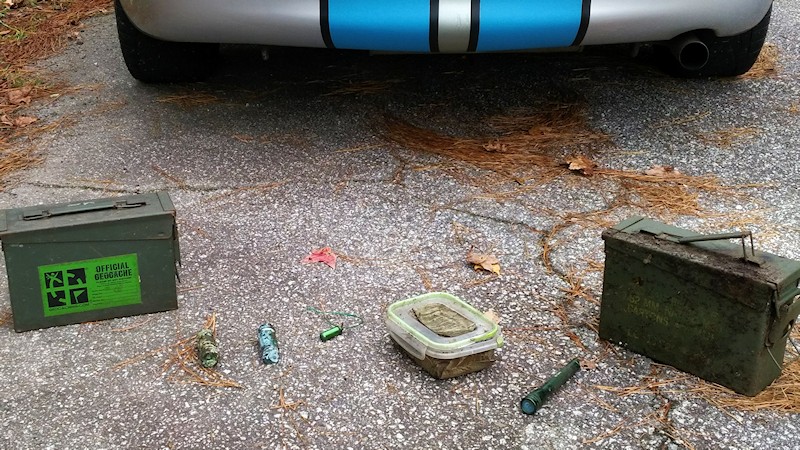
So now, that hundred mile round trip seems awfully long to do any maintenance and while there hasn’t been too much to do, it is still not a lot of fun to make the trip. We decided to just go ahead and archive the caches and on Sunday made the trip down to collect the containers. They were all fairly easy to find except for one camoed matchstick container. We were pretty sure we knew where to look, the hint said, “under log”, but there was nothing under the obvious one.
We brought everything home and salvaged what contents were worth it. We also weeded out which containers were worth saving as well. The plastic lock-n-lock was broken, so into the trash they went. The gasket was shot on the bison tube, so it went there too. The green penlight was an on-the-fly improvised container not really well suited for the job and was no longer usable as either a geocaching container or a flashlight, so, yup, we threw it away too. The ammo cans and the matchstick holders will get reused in 2019.
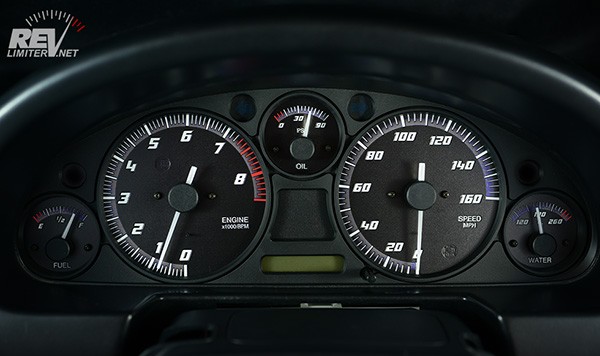
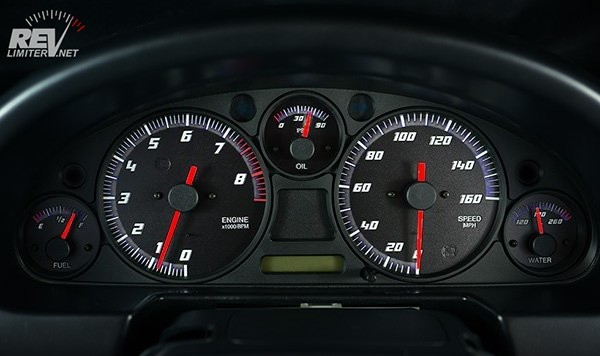
I opted for a mildly modified Version 10AE. The blue was a little too bright for my taste, so I had Adam change it to the gray on the Delta gauges. Now comes the needle color quandary, the photo above shows what it will look like if I leave them alone, hover over it and see what it would look like if I do some extra work.
For those of you who would like your own eye candy gauges for your Miata, now is the time, every Thanksgiving week Adam runs a big sale called Sharksgiving Sale (named for his car Sharka.) All stock gauges (no custom work) are down to $99 instead of the regular $129. Other stuff is on sale too, so forget that cheap Black Friday TV, get your RevLimiter on.
Bad news for me was that my gauges weren’t sale eligible, but the good news is that I got my order in before the sale, because before the sale it was a 2 week wait for orders, now it is 5 to 8 weeks…
I’ve got a RevLimiter problem.
When I bought the CTBNL a couple of years ago, it came with some of Adam’s stuff. The previous owner (Hi David) had one of his GarageStar oil caps with the Prototipo2 logo already on the car and he also gave me 3 of the small Prototipo2 badges that he hadn’t used. For a while I considered using them as fender badges, ALA BMW, but never did. One of them would made a perfect replacement for the Mazda logo on the trunk lid, but I never did that until just recently, when my Fairy Godfather gifted me with the larger matching front badge.
When it came to brightening up the wheels a little I bought some Wheel Center Cap Inserts from the RevLimiter Store in the same Prototipo2 style.
But this RevLimiter problem is not new. I’ve wanted a set of his gauge faces for at least the last decade, but never could talk myself into spending the $150 entry fee. That problem has been recently solved because I sold my retirement watch for almost the exact amount needed to buy a set of RevLimiter gauges.
The money was not the only problem though, which style to pick is arguably the harder one to solve. For the NB (99-05) car I have, there are 32 different styles to choose from. It is even worse for the NA (90-97), as there are 41 stock styles available. To make matters worse he does custom work too, everything from minor color changes to complete custom for a price. I think I have narrowed my choices down to three styles, the 10AE, the Delta and the Apollo.
I like the 10AE because it has some blue in it to bring inside the stripe color, but the best thing is, it doesn’t require moving the high beam light from it’s stock location. In almost all the other custom gauge faces the high beam indicator light is moved to the location of the current cruise control light and for me, that light is mostly blocked by the steering wheel, and not too noticeable.
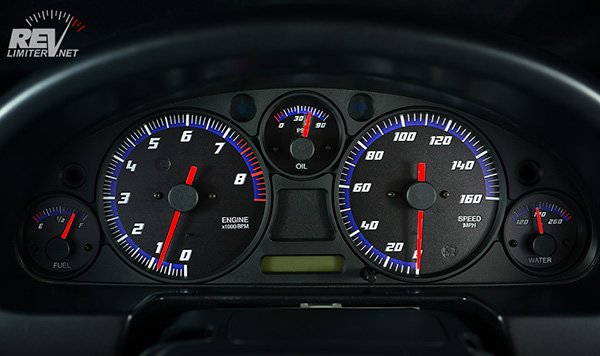
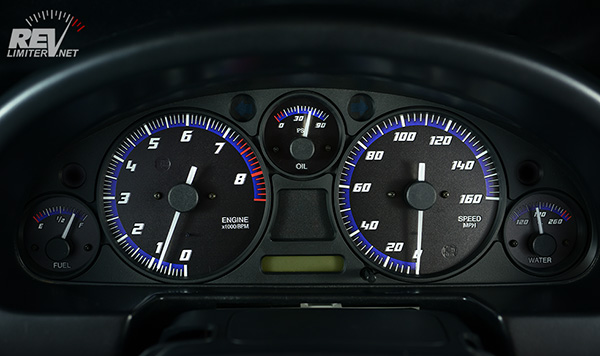
The Delta does move the the high beam light, but the color scheme is better suited to the black and silver interior of the car. I think I would have him do a bit of custom work and remove the inside arc of KPH numbers on the speedometer.
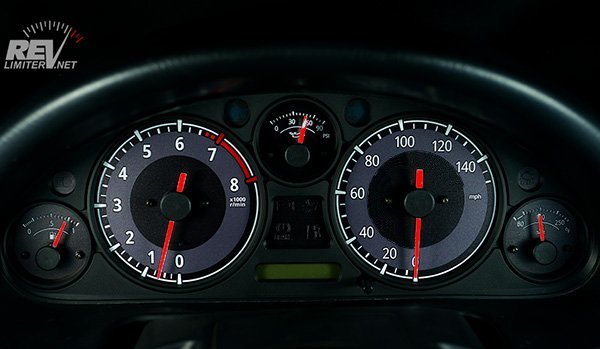
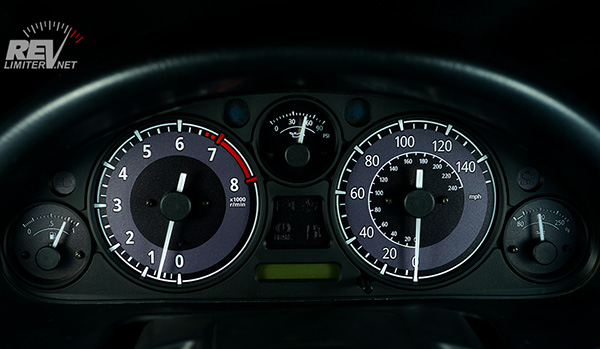
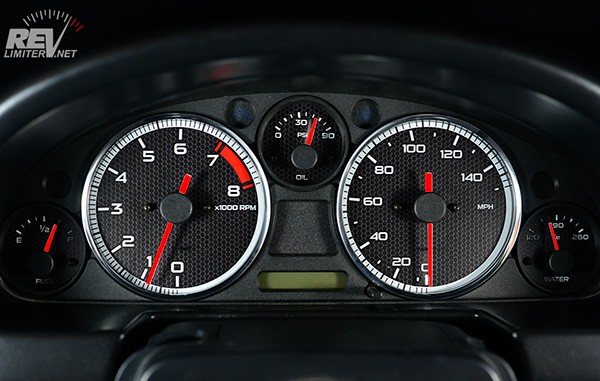
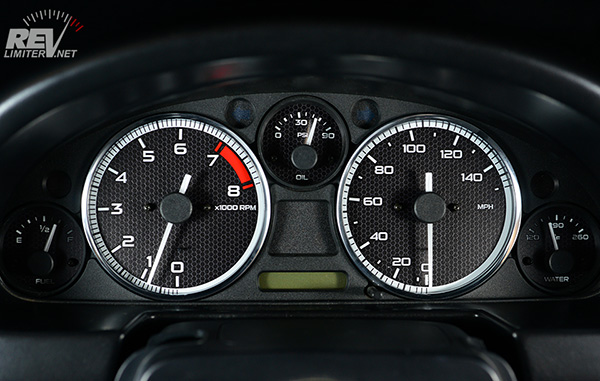
The thing with these two gauge styles is I think they both look best with the white needles as shown on his website because of their predominately black faces. White needles where stock only on the 1999-2000 models, while the 2001-2005 (mine is a 2002) has red needles. Hover over the above images for a second to see what they look like with red needles.
When I changed out the gauge faces in my old ’95 Miata the stock faces were were black with white needles. When I changed to white gauge faces, I scraped the white paint off the needles and painted them red. I guess I could do the same this time, in the opposite direction, but I’d rather not.
Of course if I’m willing to live with the relocated high beam indicator light, I could possibly go with the Apollo, which doesn’t look too bad with the red needles. Once again hover over the images to see a mock up.
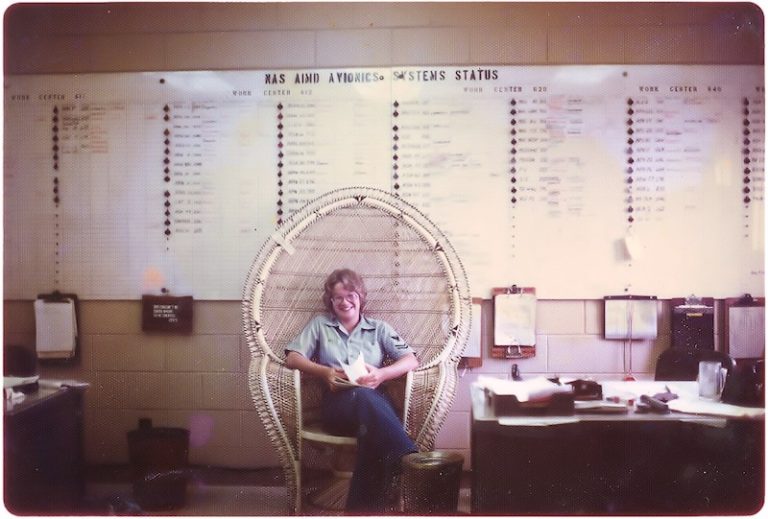
A search for a picture of Donna in uniform for a Veterans Day Instagram post sent her on a treasure hunt into several of the boxes that are full family photos. After a couple hours of searching she found a wallet size of her Navy Boot Camp Graduation photo. But just as she was locating that one, I found the directory on the PC where I had stored a couple of scanned images we used at ASCO for a Veterans Day thing a couple of years ago.
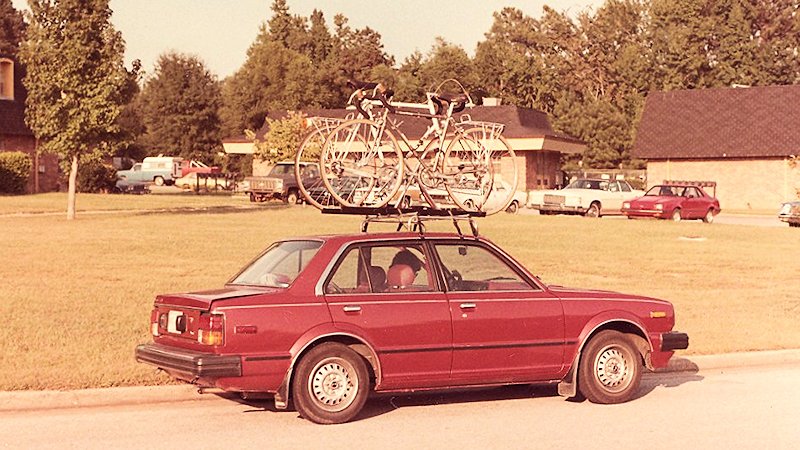
But she also unearthed a couple interesting pictures of our cars with bikes on them. First up is our 1982 Honda Civic 4-Door Sedan with two road bikes upright on top. I think with this combo the car was now taller than it was long. I also almost screwed up once big time with this rack when it was on our 1979 Accord Hatchback. I pulled into a hotel portico without thinking and I only had about 4 inches to spare.
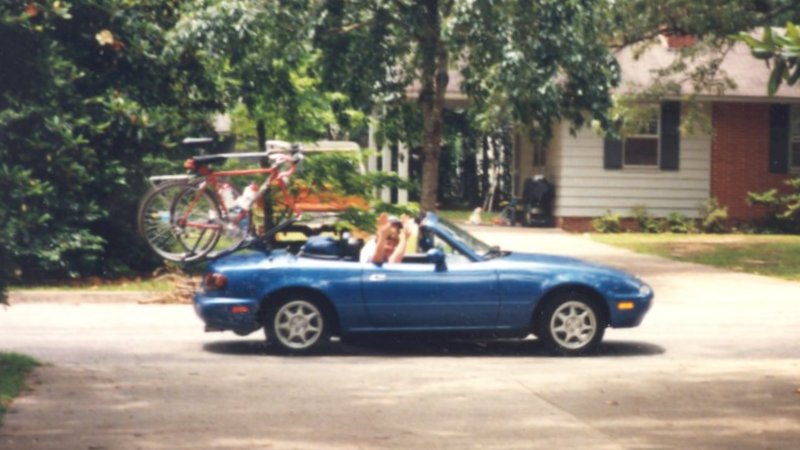
Number two is is the replacement rack for the one in the first photo. When we bought a Miata we lost a roof to put a roof rack on. This was a nifty rack that would fit on almost any trunk by adjusting the angle of the front arms and removing the front wheels. The front wheels sat in their own mounts between the two bicycles. We used this for over a decade until something broke on it that couldn’t be repaired. They weren’t making this style rack any more, so now we use a regular bumper mount rack.
