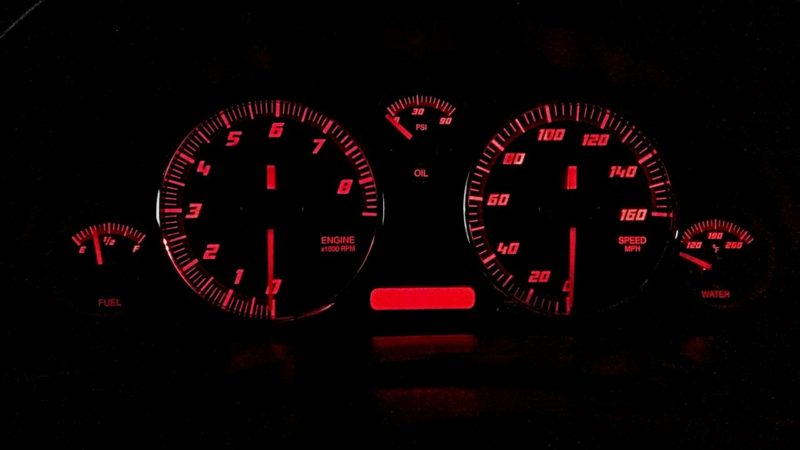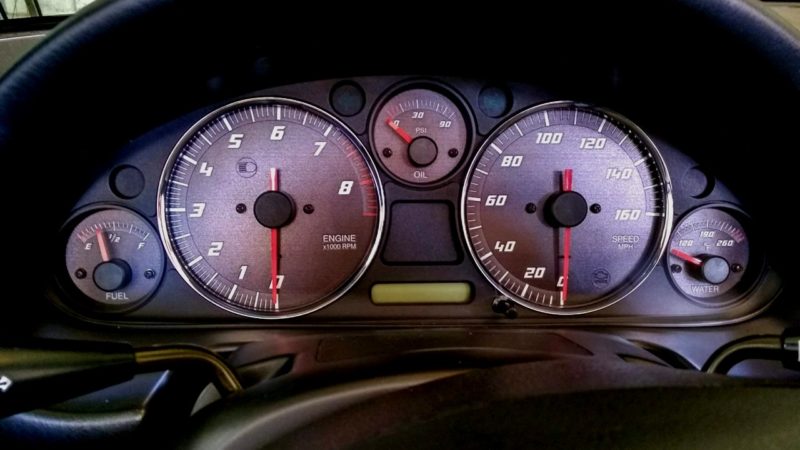

Hover over the picture above to see what they look like at night
Installation went off pretty smoothly, with just one little hiccup, I managed to “break” the needle of the Temp Gauge when I removed it. It was separated into its 3 little component parts, the cap and the needle popped off and the base stayed attached to the pin of the gauge. It was easy enough to put them all back together with some Gorilla Glue.
While I am definitely happy with the results, as befitting anything I do, I do have a couple of quibbles. One of which is not the color of the needles. Because I went with the amber baked in lighting, to keep the gauges matched to the rest of the stock interior lights, the red needles look right at home.
The first quibble is minor one and will probably disappear after a few weeks of looking at them, the faces are a bit shinier looking than shown on the gauge web page.
The second is also minor, but one notch higher, call it a grumble. At night there is a noticeable light intensity difference at the very bottom of the speedometer. Although it is hard to notice in my cell phone picture above, the area between zero and twenty is a little darker than everywhere else.
Just from remembering what the inside of the gauge cluster looks like, I’m guessing this darker area is caused by the shadow of the square plastic tube for the check engine light. Unlike my set, on most of the other gauges the CEL is relocated, so that shadow causing tube is nibbled away like the rest of the ones on the bottom of both the tach & speedo.
I’m going to drop Adam an email and see what my best option would be. Should I nibble just a little of the top of the tube off hoping that will increase the light without actually lighting the CEL all the time or do I paypal him five bucks and have him send me little gauge section for relocating the check engine light to the place where all the other gauges has it.
